Why Pot Hole Filling Is Worth Doing Right the First Time
Pot hole filling is the process of repairing damaged depressions in asphalt surfaces — and doing it correctly can save you serious money and headaches in 2026.
Here’s a quick overview of how to fill a pothole:
- Clean the hole — remove all debris, water, and loose material
- Shape the edges — cut or chisel vertical sides for better adhesion
- Apply tack coat — helps the new material bond to existing asphalt
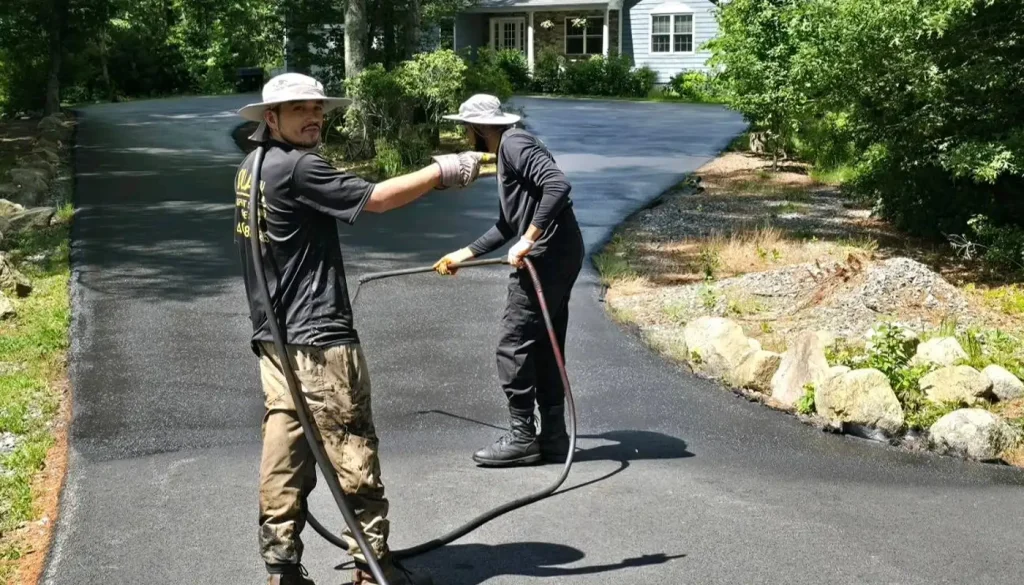
- Fill with patching material — cold patch or hot mix asphalt, in layers
- Compact thoroughly — use a tamper, roller, or drive over it with a vehicle
- Seal the edges — prevent water from getting back in
You’ve felt it — that jarring thump as your tire drops into a pothole. It’s not just annoying. Potholes remain a major safety hazard in 2026, and according to the RAC, roughly one in three UK vehicles suffers damage from them. In the US, the story is just as grim.
The frustrating part? Most potholes are completely preventable — or at least fixable before they grow into costly craters.
Here’s the kicker: studies show that repeatedly patching the same pothole the wrong way can cost five times more per year than doing one proper permanent repair from the start. That’s not a typo.
Whether you’re dealing with a crumbling driveway or a battered parking lot, this guide walks you through everything — from understanding why potholes form, to choosing the right repair method, to making a fix that actually lasts.

Understanding Potholes: Why They Form and How to Spot Them
Before we grab the shovel, we need to understand the enemy. In Rhode Island, our asphalt takes a beating from some of the most challenging weather conditions in the country. Potholes don’t just appear overnight; they are the result of a slow, calculated process of deterioration.
The Science of the Sinkhole
The primary culprit is water. Asphalt is naturally porous, and as it ages, it develops tiny hairline cracks. When rain or snowmelt seeps into these cracks, it reaches the subgrade—the dirt and gravel base that supports the heavy asphalt on top.
In a climate like ours, the freeze-thaw cycle is the real “pothole factory.” When that trapped water freezes, it expands, pushing the asphalt upward. When it thaws, it leaves a hollow void underneath the surface. Add the weight of a 4,000-pound SUV driving over that weak spot, and the surface eventually collapses. This creates the classic bowl-shaped crater we all recognize.
Early Warning Signs
You can often spot a pothole before it fully craters. Look for these signs of distress:
- Alligator Cracking: This looks like the scaly skin of a reptile. It’s a sign of structural fatigue and usually means a pothole is imminent.
- Raveling: This occurs when the top layer of aggregate (the little stones) starts to break free from the asphalt binder, leaving the surface looking “pitted.”
- Segregation: This happens when the stones and the oily binder separate, leading to localized weak spots.
- Standing Water: If you see a puddle that never seems to dry, it means your drainage is poor and water is likely eating away at the base.

Choosing the Right Pot Hole Filling Method for Your Driveway
Not all holes are created equal. Depending on your time, budget, and the depth of the damage, you’ll need to choose the right strategy. Research shows that a permanent repair can save an estimated 70% of a maintenance budget compared to doing temporary “band-aid” fixes every few months.
The Three Main Methods
- Pothole Patching (Temporary): Often called the “throw-and-roll” technique. You clean the hole, throw in the material, and let traffic (or your car tires) compact it. It’s fast, but typically only lasts about a year.
- Mill Patching: This is a more involved process where the top 2 inches of the asphalt surface are removed. Mill patching.pdf) is generally preferable for surficial damage because it creates a longer-lasting bond, though it’s not ideal for very deep holes.
- Dig-Out Patching (Permanent): The gold standard. You remove the damaged asphalt all the way down to the base (usually a 6’x6′ area), re-grade the gravel, and pour at least 4 inches of new asphalt.
| Method | Durability | Best For | Cost-Effectiveness |
|---|---|---|---|
| Throw-and-Roll | Low (1 Year) | Emergency/Winter | Low (High Repetition) |
| Semi-Permanent | High (5+ Years) | Driveways/Parking Lots | High |
| Mill Patching | Medium/High | Surface Raveling | Medium |
| Dig-Out | Very High | Structural Failures | Very High (Long Term) |
Selecting the Best Materials for Pot Hole Filling
The material you choose is just as important as the method. For DIYers, you’ll likely be looking at two main options:
- Cold Patch: This is the most common DIY material found in bags at home improvement stores. It stays pliable in the bag and hardens once compacted. Some modern versions, like Aquaphalt, are water-activated and cure much faster and harder than traditional oil-based cold patches.
- Hot Mix Asphalt (HMA): This is what professionals use. It’s heated to over 300°F and provides the strongest bond. While difficult for a DIYer to handle without specialized equipment like a hot box, HMA Patching – Pavement Interactive is the definitive choice for permanent road-grade repairs.
Before buying, always check the SDS for safety instructions and ensure the aggregate size in the mix is appropriate for the depth of your hole (larger stones for deep holes, smaller for surface patches). You can find professional-grade supplies at an asphalt patch repair store.
Pro-Tips for Long-Lasting Pot Hole Filling
If you want your patch to survive more than one season, follow these “Pro Secrets”:
- Compaction is King: A loose patch is a failed patch. You must eliminate all air voids. For small holes, a tamper tool works, but for larger areas, an asphalt roller or plate compactor is necessary.
- Lift Thickness: Never pour 6 inches of asphalt and try to compact it all at once. Fill in “lifts” of 1.5 to 2 inches, compacting each layer thoroughly before adding the next.
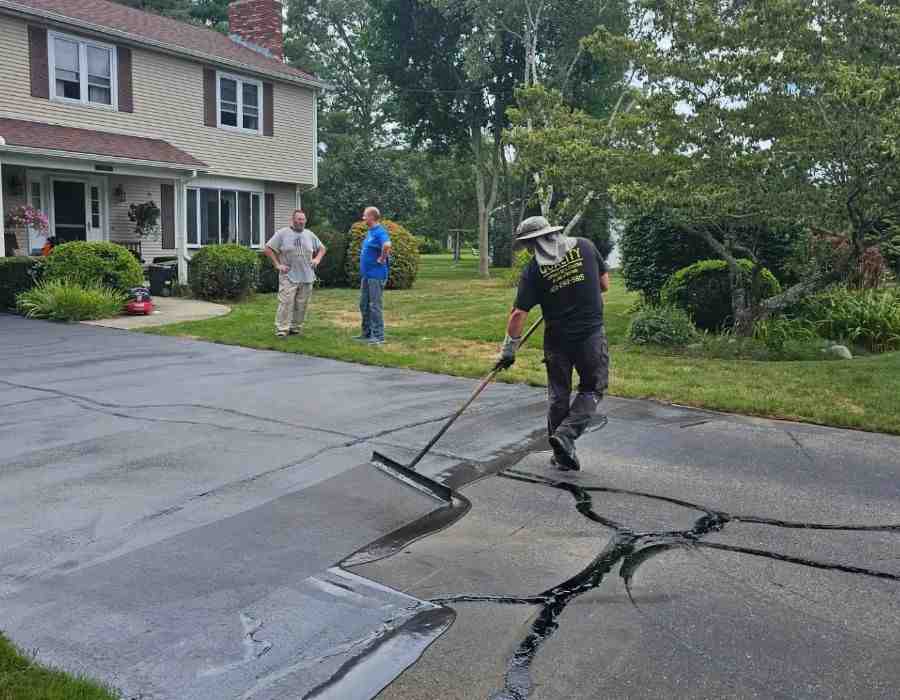
- Square the Edges: Potholes are usually round with feathered, weak edges. Use a chisel or saw to cut vertical, “square” edges into the healthy asphalt. This provides a “shoulder” for the patch to lean against.
- Seal the Deal: Once the patch has cured, apply a professional pothole repair service seal to the edges to prevent water from slipping into the seam.
Essential Tools and Step-by-Step Permanent Repair
Ready to get your hands dirty? Here is the step-by-step process for a repair that would make a pro proud.
Your Shopping List
- Cleaning: A wire street broom or a stiff poly broom.
- Excavation: A sturdy shovel and a hammer/chisel.
- Precision: A wet/dry masonry saw if you want perfectly clean edges.
- Material: High-performance cold patch or water-activated asphalt.
- Compaction: A hand tamper or a piece of plywood (to drive over).
The Step-By-Step Process
- Mark and Cut: Draw a rectangle around the pothole, extending about 2 inches into the “good” asphalt. Use your saw or chisel to cut vertical walls.
- Clean it Out: Remove all loose rocks, dirt, and—most importantly—standing water. A shop vac can be surprisingly helpful here.
- Check the Base: If the dirt underneath is soft or muddy, dig it out and replace it with 2-4 inches of crushed stone or paver base. Compact this base until it’s rock hard.
- Tack Coat: Apply a liquid asphalt adhesive (tack coat) to the vertical walls of the hole. This acts like “glue” for your new patch.
- Fill and Overfill: Pour your patching material in layers. On your final layer, overfill the hole by about 1/2 to 1 inch. This “crown” allows the material to be compressed down to the level of the surrounding driveway.
- Compact: Use your tamper to strike the patch starting from the edges and moving toward the center. For maximum density, place a piece of plywood over the patch and drive your car over it slowly several times.
Always refer to the manufacturer’s Instructions / Assembly for specific curing times before allowing heavy traffic.
Long-Term Maintenance and Prevention Strategies
Repairing a pothole is great, but preventing the next five is even better. Maintenance is the most cost-effective way to protect your investment.
- Sealcoating: Think of this as sunscreen for your driveway. Professional sealcoating should be done every 2-3 years. It creates a waterproof barrier that keeps the “pothole factory” from starting in the first place.
- Crack Sealing: Don’t let small cracks turn into big craters. Using a liquid cold pour crack filler or professional crack sealing services can stop water infiltration early.
- Waterproofing Membranes: For high-stress areas, products like Polyguard’s NW – 75 waterproofing membrane can be applied over repaired joints to provide an impenetrable seal against moisture.
- Improve Drainage: Ensure your driveway slopes away from the center and that water isn’t pooling near the edges.
- Weed Removal: Roots can actually release chemicals that break down asphalt binder. Keep your driveway clear of vegetation.
Check out more asphalt maintenance tips to keep your property looking sharp.
Frequently Asked Questions About Pothole Repair
When should I call a professional for pothole repair?
While DIY is great for small driveway fixes, you should call us if you see “alligatoring” over a large area, which indicates total structural failure. If a pothole is deeper than 6 inches or located in a high-traffic commercial entrance, specialized equipment and hot mix asphalt are required for safety. Don’t risk legal liability if a guest trips or a car is damaged—don’t hesitate to contact our professionals today.
Can I fill potholes in wet or freezing weather?
Yes, but with caveats. Standard cold patches can be used in winter as an emergency measure to keep the driveway safe. However, these are often temporary. For better winter results, use water-activated products or specialized cold-lay tarmac designed for damp conditions. You can Watch a video to see how these materials behave in cold weather.
How long will a DIY pothole patch last?
A “throw-and-roll” patch might only last a few months. However, a semi-permanent repair—where you square the edges, compact the base, and use a high-quality binder—can last as long as the surrounding pavement (5-10 years). The Specification of the material you use matters; don’t skimp on quality to save a few dollars today, or you’ll be doing the job again next year!
Conclusion
At Quality Asphalt Sealcoating, LLC, we’ve spent over 26 years helping Rhode Island homeowners and business owners “Stop the Bump.” As a family-owned business, we know that your driveway is a major part of your home’s value. Whether you decide to tackle that pothole yourself this weekend or you’d rather have our expert team handle it with professional-grade hot mix and compaction equipment, the most important thing is to act quickly.
Don’t let a small crack become a car-damaging crater. Get a professional pothole repair estimate today and keep your asphalt smooth, safe, and looking brand new!