Why Fixing Sidewalk Trip Hazards is Crucial for Safety
Sidewalk trip hazard repair is about more than just curb appeal; it’s a critical step in keeping your property safe and preventing serious injuries. Uneven sidewalks pose a real danger, leading to falls and potential lawsuits.
To fix sidewalk safety issues and prevent trips, consider these main approaches:
- Grinding: Shaves down small, raised edges to create an even surface.
- Concrete Leveling: Lifts sunken concrete slabs by injecting material underneath them.
- Full Replacement: Removes and replaces severely damaged sections of the sidewalk.
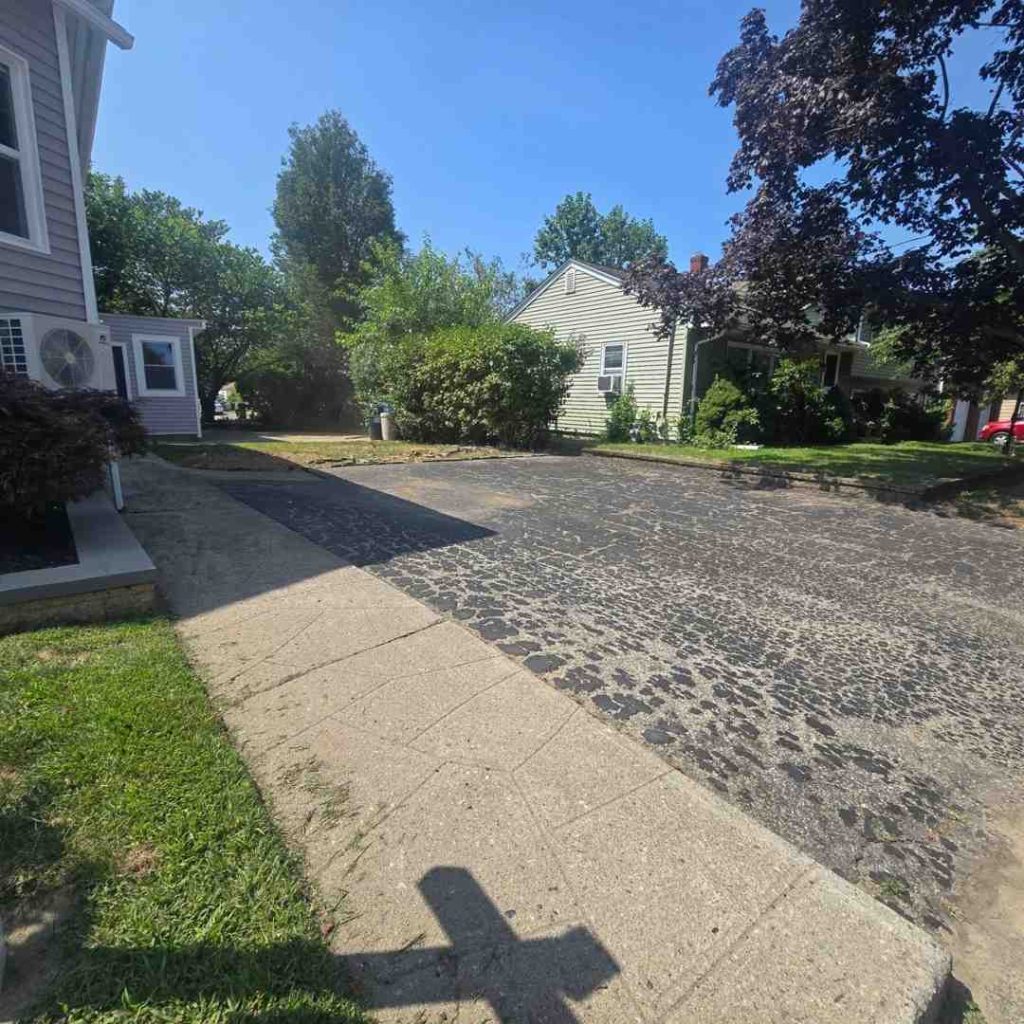
A sidewalk trip hazard is often defined as a vertical step separation of one-half inch (0.5″) or more between sections. For accessibility, even smaller differences (1/4 inch) can be an issue. Ignoring these uneven spots can lead to painful falls and expensive legal problems. Property owners are often responsible for maintaining safe sidewalks next to their land. This guide will walk you through everything you need to know to tackle these hazards effectively.

Identifying Common Causes of Sidewalk Trip Hazards
Before we can jump into the “how” of sidewalk trip hazard repair, we need to understand the “why.” Why does perfectly good concrete suddenly decide to jump up and grab a pedestrian’s toe? In our 23+ years of experience here in Rhode Island, we’ve seen it all. It’s rarely “gremlins” (though it feels like it sometimes); it’s usually Mother Nature and physics working against you.
Tree Roots: Nature’s Jackhammers

Tree roots are the most common culprits. We love our New England greenery, but those roots are incredibly strong. As they grow, they exert immense pressure upward, easily lifting heavy concrete slabs. If you see a sidewalk panel that looks like it’s trying to launch into orbit near a large oak or maple, you’ve got a root problem. Simply grinding the surface might be a temporary fix, but unless you address the root (literally), the slab will just keep rising.
Soil Erosion and Ground Settlement
Sometimes the problem isn’t what’s pushing up, but what’s falling away. Water is a powerful force. If your property has poor drainage, rainwater can wash away the soil underneath the sidewalk. This creates “voids” or empty spaces. Without a solid foundation, the concrete slab eventually cracks or sinks under its own weight or the weight of foot traffic. This is why a solid sub-base is so important—a topic we cover extensively in The Complete Guide to Parking Lot Maintenance.
The Rhode Island Freeze-Thaw Cycle
Living in Rhode Island means dealing with our unique climate. In the winter, water gets into small cracks and underneath the sidewalk. When that water freezes, it expands. This “frost heave” can lift entire sections of pavement. When the ice melts, the slab might not settle back into its original position. Over several seasons, this cycle can turn a smooth walkway into a miniature mountain range.
Sub-base Failure
If the sidewalk wasn’t installed correctly to begin with—perhaps the soil wasn’t compacted enough or the gravel layer was too thin—the ground will settle unevenly over time. This leads to tilted slabs and those dreaded “lips” that cause people to trip.
Legal Responsibilities and ADA Compliance for Property Owners
We often get asked, “Is this really my responsibility?” While every municipality in Rhode Island has slightly different rules, the general standard across the country is that property owners are responsible for the maintenance of the sidewalks adjacent to their property.
Liability Risks
If a neighbor or a passerby trips on an uneven sidewalk in front of your home or business, you could be held liable for their injuries. This includes medical bills, lost wages, and potentially much more if a lawsuit is filed. In many jurisdictions, laws like Section 7-210 of the New York City’s Administrative Code set a precedent that property owners must keep walkways free of defects. While we are in Rhode Island, the legal principle of “premises liability” remains a major factor for us here too.
The “Notice of Violation”
If a city inspector notices a hazard, you might receive a formal notice. In major cities, owners often have a strict window—sometimes a 75-day repair window—to fix the issue before the city steps in, does the work themselves, and sends you a very expensive bill.
| City Example | Repair Window | Citation Threshold |
|---|---|---|
| New York City | 75 Days | 0.5″ vertical displacement |
| Portland | 60 Days | 0.5″ vertical displacement |
| San Francisco | 30 Days | Any hazardous defect |
ADA Standards: The 1/4 Inch Rule
The Americans with Disabilities Act (ADA) has very strict guidelines to ensure sidewalks are accessible for everyone, including those using wheelchairs or walkers.
- 1/4 Inch Displacement: Any vertical change in level greater than 1/4 inch is considered a trip hazard.
- 1/2 Inch Chamfer: If the displacement is between 1/4 and 1/2 inch, the edge must be “chamfered” or beveled with a slope no steeper than 2 units horizontal to 1 unit vertical (2h:1v) to make it safer.
- Over 1/2 Inch: Anything over a half-inch usually requires more significant repair, like a ramp or full slab replacement.
Keeping your property compliant isn’t just about avoiding fines; it’s about making sure everyone can navigate your space safely. For more information on how we handle these structural needs, check out our More info about concrete services.
Professional Methods for Sidewalk Trip Hazard Repair
When we evaluate a property for sidewalk trip hazard repair, we don’t just look at the surface. we look for the most durable, cost-effective solution. Here are the professional methods we use:
1. Concrete Grinding and Scarifying
For minor “lips” (usually under 1.5 inches), grinding is often the best budget-friendly option. We use specialized equipment—either a horizontal saw or a scarifier—to shave down the high side of the joint.
- Pros: It’s fast, inexpensive, and eliminates the hazard immediately.
- Cons: It leaves a textured, lighter-colored surface that might not match the rest of the sidewalk. It also thins the concrete slab, which could make it more prone to cracking later.
2. Concrete Leveling (Mudjacking and Polyjacking)
If a slab has sunken but is still in one piece, we can lift it back up!
- Mudjacking: We drill small holes in the slab and pump a “slurry” (a mixture of water, soil, and cement) underneath. The pressure lifts the slab back to level.
- Polyjacking: This is the modern version. We inject a high-density polyurethane foam. It expands to fill voids and lift the concrete. It’s lighter than mud, waterproof, and cures in minutes.
- Stone Slurry Grout: Another leveling option that provides a very stable, long-lasting base.
3. Full Slab Replacement
When a slab is shattered into “alligator cracks” or has been lifted so high by a tree root that grinding isn’t feasible, it’s time for a fresh start. We cut out the old section, address the underlying issue (like removing a problematic root), compact the sub-base, and pour new concrete. This is the most “permanent” fix.
4. Joint Sealing and Crack Filling
Once the sidewalk is level, we don’t want water getting back under there to cause more trouble. We use Crack Filling Mastics Services to seal the joints. This keeps moisture out and prevents the freeze-thaw cycle from wreaking havoc again next winter.
DIY vs. Professional Sidewalk Trip Hazard Repair
We know many Rhode Island homeowners are handy and love a good weekend project. However, sidewalk trip hazard repair is one of those tasks where the “DIY” route can get complicated (and dusty) very quickly.
The DIY Approach: What You’ll Need
If you decide to tackle a small 1/4-inch lip yourself, you’ll need some serious gear:
- Angle Grinder: A 4″ or 4.5″ grinder is standard.
- Diamond Grinding Wheel: You can’t use a regular metal blade. You need a high-quality Diamond grinding wheel designed for masonry.
- Dust Shroud: This is crucial. Without a vacuum-attached dust shroud, you will create a massive cloud of white silica dust.
- PPE (Personal Protective Equipment): You absolutely must wear an N95 mask or respirator. Concrete dust is dangerous for your lungs. You’ll also need eye and ear protection.
The “Casper the Ghost” Effect
We’ve seen DIYers finish a job looking like “Casper the Friendly Ghost” because they didn’t use proper dust collection. Not only is it a mess to clean up, but it’s also a major health hazard. Professional equipment uses wet-cutting or high-powered vacuums to keep the air clean.
Permit Acquisition
In many Rhode Island towns, you can’t just start ripping up the sidewalk. You often need a permit from the local Public Works department. Professionals usually handle this paperwork for you, ensuring the work meets city standards so you don’t have to do it twice.
Cost-Benefit Analysis
While a DIY grind might cost you $50 in materials and a day of labor, a professional repair often comes with a guarantee. If you’re managing a commercial property, professional Line Striping & Pothole Repair Services ensure the entire area is safe, compliant, and visually appealing.
Long-Term Prevention and Maintenance Strategies
Once your sidewalk trip hazard repair is complete, you want it to stay that way. Prevention is the key to saving money in the long run.
Root Barriers
If you’re planting new trees near a walkway, install root barriers. These are physical shields that force roots to grow downward rather than outward toward your concrete.
Downspout Redirection
Make sure your gutters aren’t dumping water directly onto or under your sidewalk. Redirect downspouts into the yard or a French drain to prevent soil erosion and those pesky “voids” we talked about earlier.
Joint Caulking and Crack Filling
Small cracks are the gateway for big problems. By staying on top of Category: Crack Filling Mastics Services, you prevent water from entering the sub-base. It’s much cheaper to fill a crack today than to replace a slab in three years.
Regular Inspections and Debris Removal
Walk your property at least twice a year—once in the spring and once in the fall. Look for new cracks or slight shifts in the pavement. Clear away wet leaves and debris, as these can trap moisture and accelerate concrete deterioration.
Frequently Asked Questions about Sidewalk Safety
What is the maximum height for a sidewalk trip hazard?
According to ADA standards, any vertical displacement of 1/4 inch or more is considered a trip hazard and needs to be addressed. While some cities might not issue a violation until the gap reaches 1/2 inch, the 1/4 inch threshold is the gold standard for safety and avoiding liability.
How much does sidewalk trip hazard repair cost?
Costs vary based on the method:
- Grinding: Usually the cheapest, ranging from $50 to $150 per joint depending on the size.
- Leveling/Polyjacking: Typically costs about 50% less than replacement, often ranging from $300 to $800 for a few slabs.
- Replacement: The most expensive, often costing $15 to $25 per square foot, plus permit and disposal fees.
For more on pricing for related pavement work, see our Category: Line Striping Pothole Repair.
Do I need a permit for sidewalk trip hazard repair?
In most Rhode Island municipalities, yes. Because sidewalks are in the “public right-of-way,” the city wants to ensure they are repaired to specific safety and durability standards. Always check with your local building or public works department before starting work.
Conclusion
At Quality Asphalt Sealcoating, LLC, we take pride in being Rhode Island’s pavement experts for over 23 years. We understand that a safe property is a successful property. Whether you’re a homeowner worried about a neighbor tripping or a property manager looking to mitigate risk, sidewalk trip hazard repair should be at the top of your maintenance list.
Don’t wait for an accident to happen. A proactive, safety-first approach not only protects your wallet from legal fees but also ensures that our Rhode Island communities remain walkable and accessible for everyone.
Ready to secure your property and eliminate those hazards? Request a quote for professional maintenance services today, and let us help you put your best foot forward—literally!

